
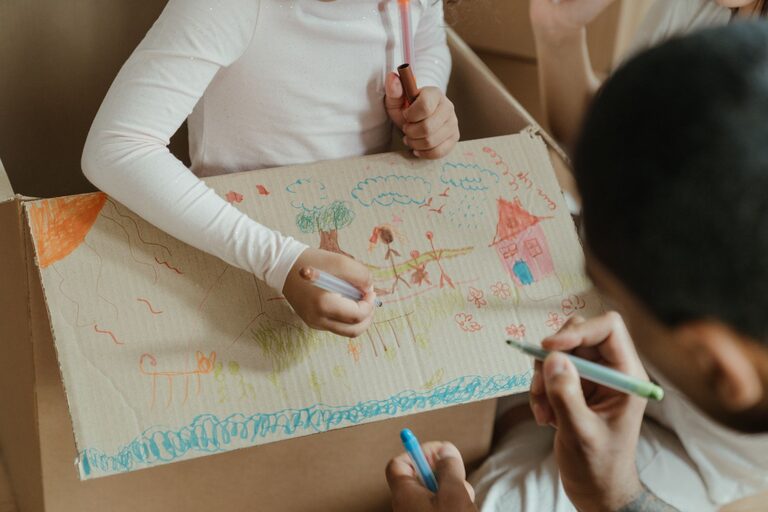
Keeping your child’s artwork organized can be a delightful yet challenging task. Children often produce a steady stream of drawings, paintings, and crafts, filling every available surface with colorful creations. While these pieces are precious memories, managing the growing collection can quickly become overwhelming. Fortunately, with a few practical strategies, you can keep your child’s art organized, easy to access, and beautifully displayed.
Why Organizing Kids’ Art Matters
Organizing kids’ art is more than just tidying up; it helps:
– Preserve memories and milestones
– Teach children the value of their work
– Reduce clutter and stress in the home
– Encourage creativity through easy access and display
By setting up a system, you can enjoy these benefits while keeping your space neat.
1. Set Up a Dedicated Art Space
Creating a specific area for art projects and storage is the first step. Whether it’s a corner of a room, a shelf, or an entire craft table, having a designated spot helps contain the mess and keeps everything in one place.
– Use bins or baskets labeled by child or project type
– Add shelves for supplies and finished artwork
– Ensure the space is accessible and inviting
2. Create an Art Display Area
Kids love to see their work showcased, and an organized display area lets you celebrate their creativity.
Options for Displaying Art
– Rotating Gallery Wall: Use clipboards, frames, or string with clothespins to create a changing exhibit.
– Magnetic Boards: These allow for easy swapping and arranging.
– Corkboards or Bulletin Boards: Pin up new masterpieces regularly.
– Digital Photo Frame: Take pictures of the artwork and rotate them digitally, saving physical space.
3. Use Storage Solutions for Keeping Art Long-Term
Not every piece can stay on display, so have a plan for storing the rest.
Storage Ideas
– Portfolios and Art Binders: Use large, flat portfolios or binders with plastic sleeves to keep drawings and paintings safe.
– Clear Plastic Bins: Stackable bins labeled by year or child work well for thicker crafts.
– Filing Cabinets: Use hanging folders for easy categorization.
– Digital Archiving: Photograph or scan artwork and store it on a computer or cloud service. This is especially helpful for preserving three-dimensional projects.
4. Establish a Regular Sorting Routine
Set aside time every few weeks or months to review new artwork. Involve your child in deciding which pieces to keep, display, or recycle.
– Keep only favorites or those with special meaning
– Photograph and digitize the rest before recycling
– Use this routine to prevent overwhelming piles from building up
5. Encourage Creative Use of Old Artwork
To reduce clutter and make the most of saved art, consider repurposing some pieces.
Repurposing Ideas
– Make greeting cards or gift tags
– Use artwork for wrapping paper
– Create collages or scrapbooks
– Turn drawings into custom calendars or photo books
This approach keeps the creativity alive while managing the volume.
6. Label Everything Clearly
Whether you’re organizing by date, child, or project type, clear labeling helps you find and sort artwork quickly.
– Use a permanent marker or label maker
– Include dates and brief descriptions when possible
– Keep labels consistent
7. Teach Kids to Value Organization
Involve children in the process to help them understand the importance of keeping their art organized.
– Let them choose which pieces to keep or display
– Show them how to file or store artwork
– Praise their efforts in keeping things tidy
This not only keeps your home organized but also builds lifelong habits.
Final Thoughts
Organizing kids’ artwork doesn’t have to be overwhelming. With a dedicated space, smart displays, thoughtful storage, and regular sorting, you can keep those precious creations safe and your home clutter-free. Remember, the goal is to honor your child’s creativity while maintaining a comfortable living space for the whole family.
Try these tips today and transform how you manage your child’s artistic treasures!