
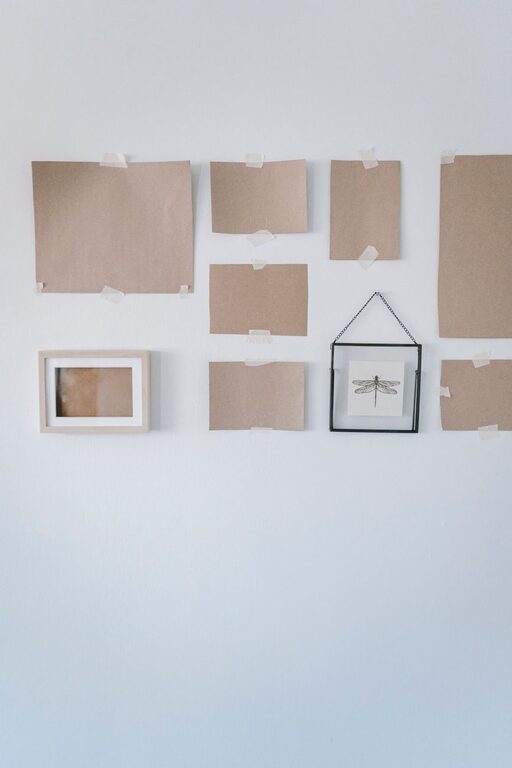
When it comes to personalizing your living space, wall decor plays a big role. Whether you want to add a splash of color, texture, or a bit of character, creating your own wall art can be an enjoyable and rewarding experience. The best part? Many DIY wall decor ideas require minimal materials and little time, making them perfect for beginners and those looking to refresh their walls on a budget.
In this post, we’ll explore easy and creative DIY projects that can help you transform blank walls into eye-catching focal points.
Why Choose DIY Wall Decor?
DIY wall decor offers several benefits:
– Cost-effective: You can often use materials you already have or buy supplies at a low cost.
– Customization: Tailor colors, sizes, and styles to fit your personal taste and room theme.
– Creative outlet: Making your own decor allows you to express your creativity and add a personal touch.
– Satisfaction: There’s a sense of accomplishment in displaying something you made yourself.
Now, let’s dive into some inspiring ideas that anyone can try.
1. Framed Fabric Art
Instead of expensive paintings or prints, use fabric to create art pieces.
Materials Needed:
– Fabric scraps or fat quarters
– Picture frames (with glass removed)
– Scissors
– Double-sided tape or glue
How to Make:
- Choose a fabric with a pattern or color that complements your room.
- Cut the fabric to fit the size of the frame.
- Stretch and secure the fabric to the back of the frame with tape or glue.
- Hang the framed fabric pieces in a grid or staggered layout for visual interest.
This method is quick, inexpensive, and adds texture and color.
2. Washi Tape Wall Patterns
Washi tape is decorative, easy to remove, and perfect for temporary designs.
Materials Needed:
– Washi tape in various colors and patterns
– Measuring tape or ruler (optional)
How to Make:
- Decide on a pattern — stripes, chevrons, geometric shapes, or a simple border.
- Clean the wall surface lightly.
- Apply strips of washi tape directly onto the wall.
- Use a ruler for straight lines if you want precision.
This project is fantastic for renters or those who like to change decor frequently.
3. Nature-Inspired Wall Hangings
Craft a rustic or bohemian look with natural materials.
Materials Needed:
– Driftwood, branches, or wooden dowels
– Twine or yarn
– Feathers, dried flowers, or beads
– Scissors
How to Make:
- Cut twine into varied lengths.
- Tie feathers, beads, or dried flowers to twine strands.
- Tie the twine strands evenly to the driftwood or branch.
- Hang it on the wall using extra twine.
These hangings are simple to make and bring an earthy, cozy vibe to your space.
4. Canvas String Art
Create eye-catching designs with nails and string on a wooden canvas.
Materials Needed:
– Wooden board or thick cardboard
– Small nails or pins
– Colored string or embroidery thread
– Hammer (if using nails)
– Pencil for drawing the design
How to Make:
- Lightly sketch your design on the board.
- Hammer nails along the outline at regular intervals.
- Tie one end of the string to a nail.
- Weave the string around nails to form the design.
- Tie off and trim the string when complete.
Popular shapes include hearts, stars, and geometric patterns.
5. Gallery Wall with Personal Photos
Show off memories with a DIY gallery wall.
Materials Needed:
– Photo prints (your own photos or affordable prints)
– Frames (mix and match sizes)
– Wall hooks or picture hanging strips
– Level and measuring tape
How to Make:
- Lay out your frames on the floor to find an arrangement you like.
- Use a level and measuring tape to space frames evenly on the wall.
- Hang the frames, starting from the center and working outward.
- Add small decorative objects or wall decals to complement the photos.
This makes your space feel warm and inviting.
6. Painted Wall Stencils
Add patterns without the hassle of wallpaper.
Materials Needed:
– Stencils of your choice (can be purchased or homemade)
– Paint
– Sponge or stencil brush
– Painter’s tape
How to Make:
- Position and tape the stencil on the wall.
- Dab paint gently using the sponge or brush.
- Lift the stencil carefully.
- Repeat the pattern across the desired area.
- Let dry completely.
Patterns from florals to simple geometric shapes can brighten up a dull wall.
Tips for Successful DIY Wall Decor
– Prepare your surface: Clean walls help paint and tape stick better.
– Plan your layout: For gallery walls or multiple pieces, measure and arrange on the floor first.
– Be patient: Allow paint and glue to dry fully between steps.
– Keep it simple: Start with projects that match your skill level, then gradually try more complex ideas.
– Use quality materials: They make a difference in the final look and durability.
Final Thoughts
DIY wall decor offers endless possibilities to reflect your style and personality. Whether you prefer subtle fabric art or bold string designs, these projects can refresh any room without spending a lot of money. Plus, creating your own decor brings joy and a unique sense of accomplishment.
So, pick an idea that excites you, gather some supplies, and start crafting your perfect wall art today!
—
Looking for more home decorating tips? Stay tuned for upcoming posts on budget-friendly interior updates and clever organization hacks. Happy decorating!